Easy Homemade Pop Tarts: Your Quick Ticket to Childhood Nostalgia
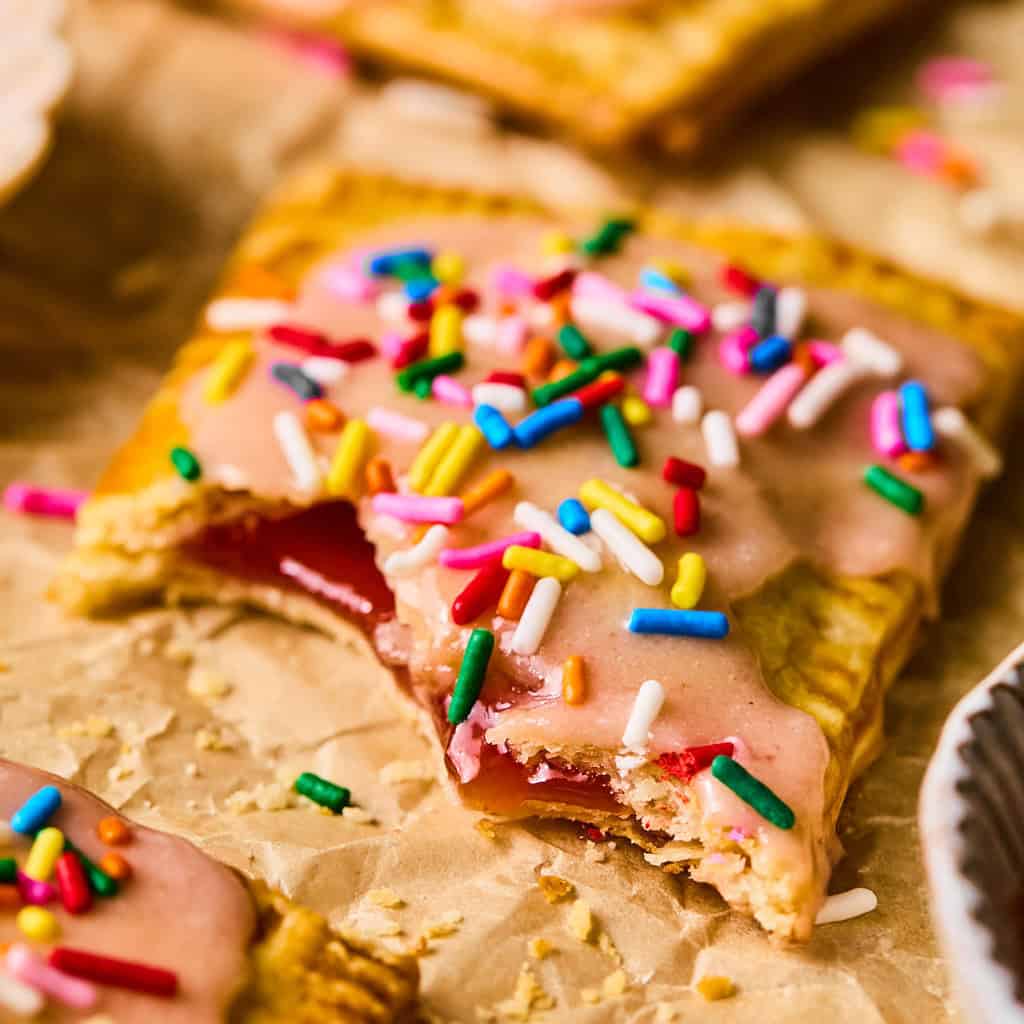
Imagine a warm, flaky pastry, bursting with your favorite fruity jam or rich chocolate spread, all topped with a sweet, drizzled glaze. Now imagine making it yourself, in your own kitchen, with minimal fuss. Sounds like a dream, right? Welcome to the wonderful world of easy
homemade pop tarts! Forget the store-bought versions that often disappoint with skimpy filling and uneven icing. This recipe leverages the ultimate baking shortcut – pre-made pie crust – to deliver a delightful, customizable treat that’s far superior to anything from a box.
Whether you're craving a nostalgic breakfast, a fun baking project with the kids, or simply a quick, decadent snack, these
homemade pop tarts are your answer. They're incredibly versatile, allowing you to control every aspect, from the sweetness of the filling to the generosity of the icing. No fancy baking tools are required, just a few basic kitchen essentials and a desire for something truly delicious. Get ready to elevate your breakfast game and rediscover the joy of a truly satisfying pastry.
Why Homemade Pop Tarts Are Your Next Kitchen Adventure
Diving into the world of homemade pastries doesn't have to be an intimidating affair. These
homemade pop tarts stand out as an achievable and incredibly rewarding baking project for several compelling reasons.
Unbeatable Flavor & Quality
One of the biggest advantages of making your own pop tarts is the sheer difference in taste and quality. Store-bought versions, while convenient, often contain preservatives and artificial flavors that simply can't compare to the fresh, wholesome ingredients you use at home. When you make
homemade pop tarts, you're in control. You choose real butter-laden pie crust, high-quality fruit preserves with actual fruit, and a simple glaze made from pantry staples. The result is a pastry that's wonderfully flaky, genuinely flavorful, and deeply satisfying – a far cry from the often dry, artificially flavored experience of commercial alternatives. For a deeper dive into why homemade truly triumphs, explore our insights on
Why Homemade Pop Tarts Beat Store-Bought: Real Ingredients.
Customization at Your Fingertips
The versatility of this
homemade pop tart recipe is truly boundless. Tired of the same old strawberry or brown sugar cinnamon? With this recipe, you become the master of flavor.
*
Fillings Galore: Experiment with a wide array of jams and jellies – raspberry, apricot, blackberry, or even a spiced apple butter. Beyond fruit, consider rich spreads like Nutella, a creamy peanut butter, or a decadent lemon curd. A classic brown sugar cinnamon filling (a mix of brown sugar, cinnamon, and a tiny bit of melted butter or flour to thicken) is always a winner.
*
Icing Perfection: Ever been disappointed by a store-bought pop tart with barely any icing? With homemade, you dictate the frosting-to-pastry ratio. Drizzle generously, or create a thick, opaque coating. You can also customize the glaze itself – add a touch of vanilla extract, a squeeze of fresh lemon juice for a citrusy zing, or even a hint of almond extract for an elegant twist.
*
Shape Shifting: While rectangles are classic, don't be afraid to use cookie cutters to create fun shapes, especially if baking with kids. Stars, hearts, or even mini circles can make these treats extra special.
To truly unlock your creative potential and discover endless flavor combinations, check out our guide on
Customizable Homemade Pop Tarts: Fun Flavors & Kid-Friendly.
A Perfect Family Activity
This recipe is incredibly kid-friendly, making it an ideal activity for aspiring young bakers. Little hands can easily help with many steps, fostering creativity and a sense of accomplishment.
*
Dough Cutters: Kids love cutting out the dough rectangles or using fun cookie cutters for unique shapes.
*
Filling Fun: Spooning jam onto the dough is a simple task that children can master (with a little supervision to prevent overfilling!).
*
Crimping & Sealing: Using a fork to crimp the edges is a satisfying activity that also serves an important purpose.
*
Egg Wash & Decorating: Brushing on the egg wash adds a beautiful golden finish, and once baked, decorating with icing is always a highlight.
It's a wonderful way to spend quality time together, creating delicious memories and a tasty treat.
The Secret to Speed: Pre-Made Pie Crust
The cornerstone of this "easy"
homemade pop tarts recipe is undoubtedly the pre-made pie crust. While there's certainly a time and place for crafting your own pastry from scratch, using ready-to-roll pie dough dramatically cuts down on preparation time and effort without sacrificing flavor. This convenience makes homemade pop tarts accessible even on busy mornings or spontaneous baking urges.
Pre-made pie crust rolls out beautifully, providing a consistently flaky base for your fillings. It eliminates the need for measuring flour, chilling butter, and the often finicky process of kneading and rolling dough perfectly. Simply unroll, cut, fill, and bake! This shortcut is a game-changer for those who want the joy of a homemade pastry without the commitment of a full-blown baking project.
Pro Tip: Always allow your refrigerated pie crust to come to room temperature for about 15-20 minutes before unrolling and working with it. This prevents cracking and makes the dough much more pliable and easier to handle.
Crafting Your Delicious Creations: A Quick Guide
Ready to make your own batch of delightful
homemade pop tarts? Here’s a streamlined overview of the process, highlighting key ingredients and steps to ensure success.
Essential Ingredients (Beyond the Crust)
You don't need much to bring these pastries to life:
*
Pre-made Pie Crust: One package typically contains two rounds, enough for several pop tarts.
*
Your Choice of Filling: Jams, jellies, Nutella, brown sugar cinnamon mix – whatever your heart desires!
*
Egg Wash: One egg whisked with a tablespoon of water or milk, essential for that golden-brown finish and helping to seal the edges.
*
Simple Glaze: Powdered sugar, a splash of milk or cream, and a dash of vanilla extract.
For an egg-free version of the wash, you can use a combination of coconut oil or an almond milk and agave mixture to achieve a similar golden sheen.
Simple Steps to Assembly
Making these pop tarts is surprisingly straightforward:
1.
Prepare the Dough: Unroll your room-temperature pie crusts. Stack one on top of the other, or work with them individually. To get clean, straight edges, trim off the curved sides. A pizza cutter is fantastic for this, but a sharp knife or pastry wheel works just as well.
2.
Cut Rectangles: Using a template (like a small index card) or just eyeballing it, cut the dough into roughly 3x4 or 3x5-inch rectangles. You'll need two rectangles for each pop tart. Gather any scraps, gently roll them out again to about 1/4-inch thickness, and cut out more rectangles or fun shapes with cookie cutters.
3.
Fill 'Em Up: Lay half of your dough rectangles on a parchment-lined baking sheet. Spoon about 1-2 teaspoons of your chosen filling onto the center of each, leaving a clear border around the edges. Remember, less is more here – overfilling can lead to leaks.
4.
Top and Seal: Place a second dough rectangle directly on top of each filled piece. Gently press around the edges to seal. Then, use the tines of a fork to crimp all four sides, creating a decorative edge and a secure seal.
5.
Egg Wash & Vent: Brush the top of each pop tart generously with the egg wash. This helps them brown beautifully and gives them a lovely sheen. Before baking, use a small knife or a fork to poke a few holes in the top of each pastry – this allows steam to escape, preventing the pop tarts from puffing up too much and bursting.
6.
Bake to Golden Perfection: Bake in a preheated oven (usually around 375°F or 190°C) for 12-18 minutes, or until the crust is golden brown and flaky.
7.
Cool & Glaze: Let the pop tarts cool completely on a wire rack before applying the glaze. This prevents the icing from melting off. Once cool, mix your powdered sugar glaze and drizzle or spread it generously over each pop tart. Let the glaze set before serving.
Unleash Your Inner Pastry Chef: Flavor Variations & Tips
The beauty of
homemade pop tarts lies in their adaptability. Once you've mastered the basic technique, the possibilities for flavor combinations are endless.
*
Beyond Basic Jams:
*
Nutella Swirl: For chocolate lovers, a spoonful of Nutella is pure bliss. You can even add a sprinkle of mini chocolate chips before sealing.
*
Brown Sugar Cinnamon: Mix 2 tablespoons melted butter with 1/4 cup brown sugar and 1 teaspoon cinnamon. Add 1 teaspoon flour to thicken if desired.
*
Savory Surprises: While traditional pop tarts are sweet, don't shy away from savory options like pesto and cheese, or a finely diced ham and cheese filling for a unique brunch pastry!
*
Icing Innovations:
*
Citrus Burst: Substitute milk in the glaze with lemon, lime, or orange juice for a bright, tangy topping. Add zest for extra punch.
*
Chocolate Drizzle: Melted chocolate or a chocolate ganache can be drizzled over a vanilla glaze for a professional look.
*
Sprinkle Fun: Don't forget the sprinkles! They add a festive touch, especially when baking with kids.
*
Storage and Reheating:
*
Homemade pop tarts are best enjoyed fresh, but they can be stored in an airtight container at room temperature for 2-3 days, or in the refrigerator for up to a week.
* To reheat, pop them in a toaster oven for a few minutes until warmed through and the crust is crisp again. Avoid a standard toaster if your pop tarts are very thick or heavily iced, as the icing can melt and make a mess.
Conclusion
Making your own
homemade pop tarts is a delightful journey that combines simplicity, creativity, and incredible flavor. By harnessing the convenience of pre-made pie crust, you unlock a world of customizable, delicious pastries that far outshine their store-bought counterparts. From the joyous family activity to the endless flavor possibilities, these easy pop tarts are more than just a breakfast item – they're a chance to create special memories and indulge in a genuinely satisfying treat. So, gather your ingredients, call the kids, and get ready to bake up some magic in your kitchen. Your taste buds (and your family) will thank you!